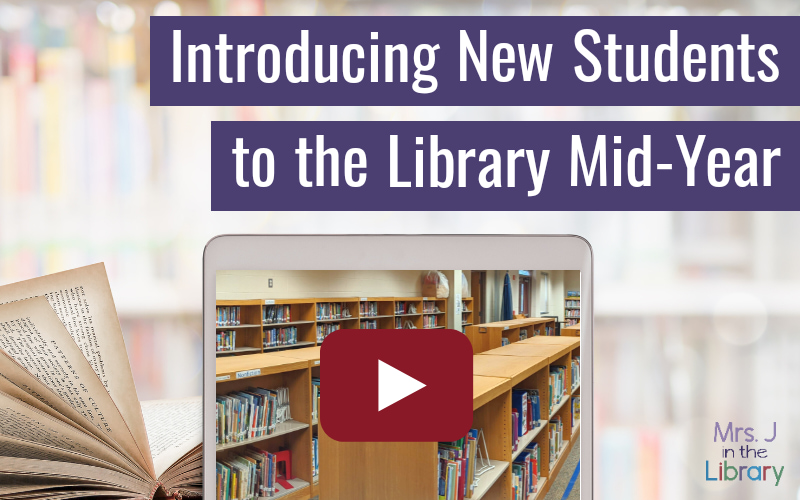
For many students, moving to a new school in the middle of a school year is challenging. They may feel overwhelmed as they learn new procedures and meet new friends.
I had been thinking about how to teach just-moved-in students about our library without interrupting the routine and momentum of the rest of the class. I wanted new students to feel like I was giving them an individual guided tour, even though I couldn’t feasibly do that with 26 other students in the class.
What I came up with is a Library Welcome Center that new students can go to during checkout before they choose books, or as a library center.

Special thanks to Judy Moreillon, who inspired me at a PSLA library conference back in 2013. She was the first person I heard who showed practical examples of using “flipped instruction” specifically for the library (what we now call blended or hybrid teaching).
Disclaimer: This post contains affiliate links, which means if you purchase an item after clicking the link, I will receive a small commission. See Disclosures & Disclaimers for more information.
The Library Welcome Center in action:
To create a Welcome Center, I needed a video tour with my voice talking about the most important things in our library:
- The different sections of our library,
- Behavior expectations,
- How to use a book looker or shelf marker,
- Basic checkout procedures, and
- Who and where to ask for help.
As I walked around the library space, I covered each part briefly because I often review topics like behavior expectations as a whole class. Plus, students practice the checkout procedures every week.

Setting up the Library Welcome Center:
I made the library welcome video on one of the library’s tablets, but any hand-held device would work. At the end of the video, I invited the new student to find some new books to read and come see me to check them out.
If you are making a video for your own school library, I recommend writing a script, or at least a sticky note of topics to cover so you don’t forget something. It might take a couple tries before you are happy with the end result, and you likely will have to edit together 2 or 3 clips.
Once I recorded and edited the video, I uploaded it to the library Dropbox account that syncs with all 12 of the library’s tablets. I also made a QR code that links directly to the video.
UPDATE for 2023: My strong recommendation is to upload it as an unlisted YouTube video. If YouTube is blocked in your district, then upload it to your school’s cloud storage (e.g. Google Drive) and use a link to share it within your school only. For safety reasons, it should not be a public video shared outside of your school’s network.
 What Your Students are Learning and Doing:
If students are watching the video as a library center, they can scan the QR code with their device or click a link in your online learning platform to watch it.
After they finish watching the video tour, they can independently choose books or ask the librarian a question to find something. I also encourage the new student to ask someone in their class if they have a question too.
 General Welcome Center:
If you don’t do library centers, then you can still have a designated area of your library for newcomers. It can be as simple as a library sign on the wall with a friendly message:
“Welcome! It’s nice to meet you. For your first visit, watch this video.”
Add a QR code to the sign, or maybe mount an old tablet to the wall to play the video with a set of headphones.
If your students don’t have devices, or if you can’t mount anything to your library walls, use one “library use only” tablet that you can hand out to new students during their first visit and collect at the end of class. Just make sure to lock down the settings!
 What You Need:
- Library center sign or poster
- Phone, tablet, or video camera to record your video tour
- YouTube account or cloud storage, such as Google Drive or Office 365
- Student 1:1 devices or 1 “library use only” tablet.
- If getting a tablet for “library use only”, I recommend a small tablet with a 7-8″ screen.
- An iPad Mini or a Samsung Galaxy Tab A tablet is excellent for this purpose, and often affordable too.
- InShot app on your own device to edit your video, or other editing software.
- YouTube’s native video editor is good for cutting a few seconds here and there.
- For more complex editing, you’ll be glad you used InShot. That’s how I edit all of the videos on my YouTube channel.
- Optional for library center – Library Centers Management Tracking Booklets / Menus and Learning Badge Stickers, a printable booklet for each student that you can add stamps or stickers to,
OR Library Centers DIGITAL Menu / Tracker with Learning Badges, a digital way to track students’ progress through a center assignment and/or keep students accountable for their center choices using Google Classroom or Google Drive.
If you’d like to make your own Library Welcome Center, you can download the free template above and create your own video for students to get acquainted with the library.
Do you have a technique for introducing move-in students to the library? Share it in the comments!