Summer is a time for relaxing, recharging, and spending time with my family. The back-to-school season is just around the corner, though, and I’m already thinking about changes to make for this coming school year. Getting organized at the beginning of the school year sets you up for success (and less stress!) later in the year, and it doesn’t have to be difficult. In fact, today’s organization tip is very simple and easy to implement.
Disclaimer: This post contains affiliate links, which means if you purchase an item after clicking the link, I will receive a small commission. See Disclosures & Disclaimers for more information.
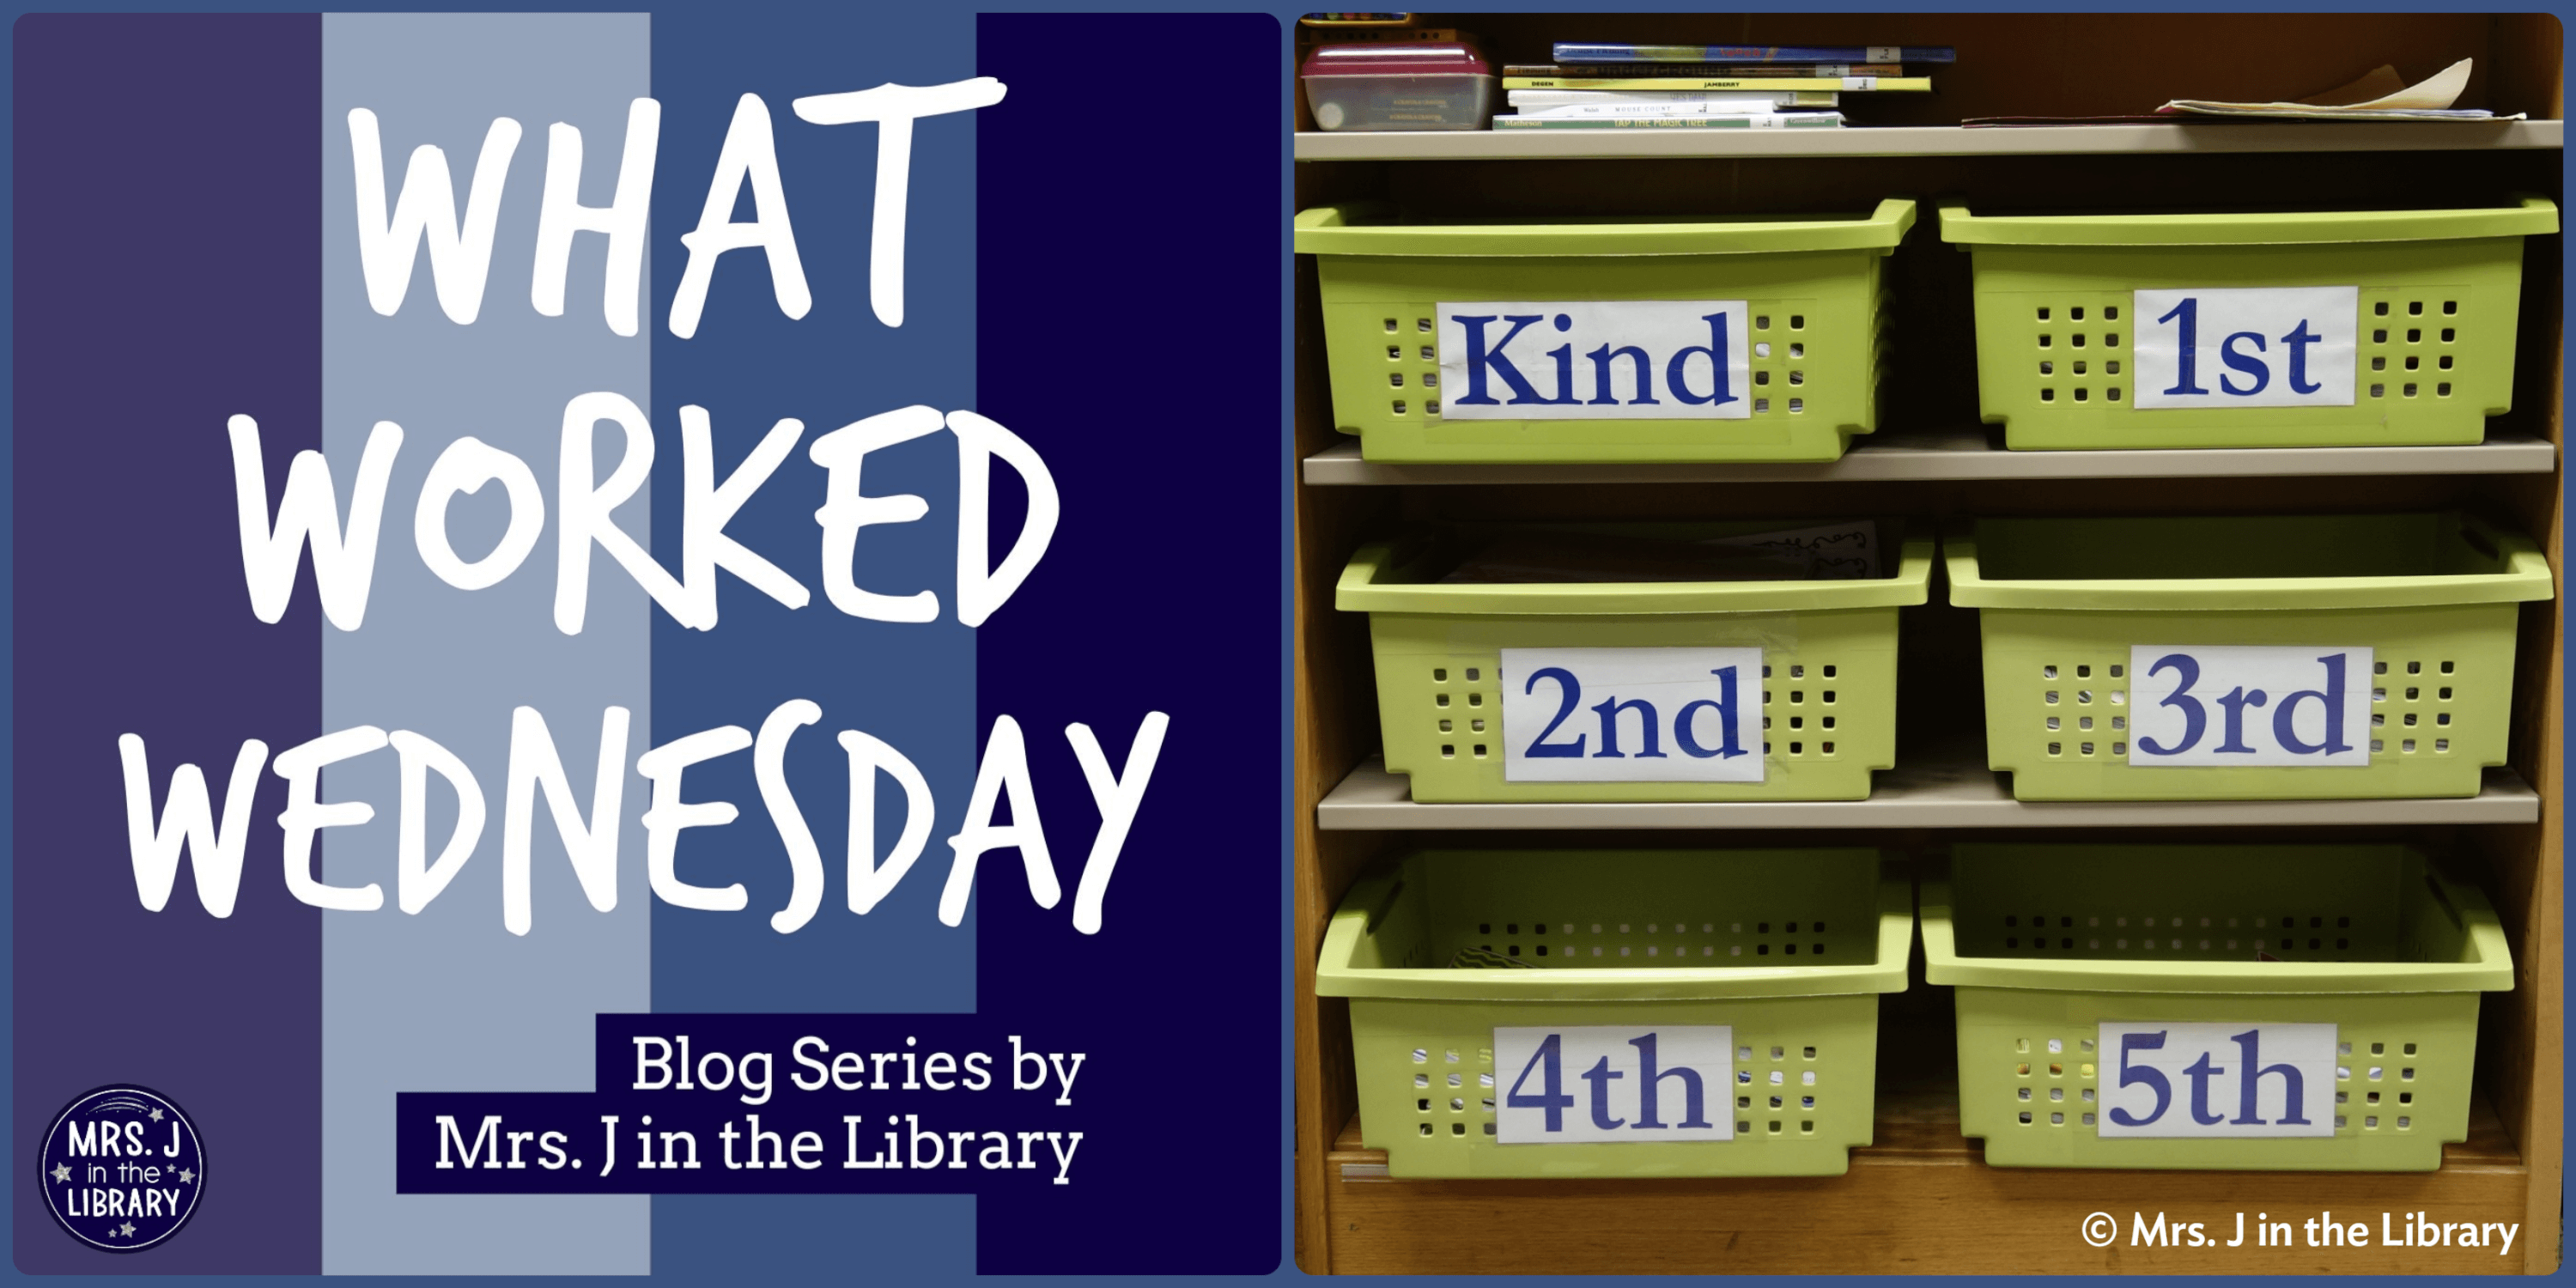
Today’s idea that worked:
Store your lesson materials in large, deep plastic bins in an easily accessible place. Having 1 bin for each grade level makes it easy to “grab and go” when classes are scheduled back-to-back.

For example, the grade-level lesson bins in our library are on 3 shelves, near the book checkout area and just outside my office. These bins are my favorite storage containers because they can be stacked by flipping the handles in, *and* they can nest within each other when not in use. Mine are from Target a few years ago, and you can often find different colors at big box stores around the back-to-school season.
Psst! Remember to measure your shelves before buying so you know that your bins or baskets will fit.
The labels shown are part of my Elementary Library “On Display” Posters and Signs product on Teachers Pay Teachers, but if you decide to make your own, just make sure to use a large font size. After laminating the labels, tape them to both of the long sides on each bin, so that the label is always visible no matter how rushed you are putting the bin away. (Guilty!)
How this idea saves time and energy:
When there are zero minutes between classes, you can quickly gather up materials from the last class in their grade-level bin, and distribute the next class’s materials. If needed, you can organize or tidy up the bins at the end of the day, but at least everything is in the same place as where it started.
Plus, this organization method makes it much easier for a sub to find your lesson materials if you need to be out at the last minute.
Here’s a quick photo walk-through to show you how I “pack” my bins for multiple weeks, or even months, of lessons for a read-aloud unit:
Step 1: Put your current unit’s upcoming read-aloud books or resources on the very bottom.
Step 2: Next, layer your current unit’s lesson materials and printables.
This part includes anything your students will use during the next week’s lesson or from week to week, like these printable reading response booklets that I use for one of the K-2 read-aloud units. You can also rubber-band each class set of booklets together to stack them.
Step 3: Add the book you will be reading (or other resources you will use) for the next class on top so that it’s easy to see and grab at a moment’s notice.
Step 4: Repeat with your next upcoming unit, putting those materials UNDER your current unit’s materials.
And voilà! Your whole unit (and maybe the next one too) is ready to go!
Do you have an organization or back-to-school tip to share? Share it in the comments!
“What Worked Wednesday” is a blog post series on MrsJintheLibrary.com about ideas that I have personally tried in my library and/or instruction.
Each post includes an idea that worked in my school library and how it can make your life less stressful, more organized, and/or more manageable.
I started doing this last year & it has made a huge difference. My desk stays clean(er) now. I keep a clipboard for every grade level as well that has my seating charts, rosters, etc. & that sits on the top. Mine are color coded by grade level. I need to add labels to make them more easily accessible for subs. I love that you stock them in advance – I may have to give that a try.
Thanks! I like your idea for color coding your clipboards. I used to keep 1 clipboard of all of my K-2 seating charts, but your comment makes me think that using different colors and 1 per grade level might work better.