Teaching “on a cart” means that all of your teaching supplies, materials, and tech are on a rolling cart, such as an AV cart or a book shelving cart. The teacher moves from classroom to classroom to teach her or his lessons.
While teaching this way is FAR from ideal, and should be avoided if at all possible, there are some limited circumstances that necessitate teaching library classes from a mobile cart. For example, if your school library’s physical space is under renovation, it’s likely unsafe for students to use the physical space. The library’s digital space and a mobile teaching cart for the school librarian can assure that students’ research and information fluency skills stay sharp.
If you are faced with the staggering task of running the entire library program in the regular classroom, don’t worry…it can be done!
Disclaimer: This post contains affiliate links, which means if you purchase an item after clicking the link, I will receive a small commission. See Disclosures & Disclaimers for more information.
Before the pandemic, I sometimes used a book shelving cart to bring my laptop, a document camera, and a monitor cable so that I could teach my lessons through the classroom projector. This was a perfect temporary set-up. However, during the 2020-21 school year, I taught from an AV cart with 3 shelves all year long. Here are some ways I stayed organized to keep everything running smoothly.
Tips for Organizing Your Library Teaching Cart
What the Tech?

Check what cables are needed to connect your laptop/Chromebook with the classroom projector or teacher computer in every classroom. You’ll likely need an HDMI cable, a VGA cable, or a combination to connect your tech to the classroom tech.
If you want to show books on a projector screen, you’ll also want a document camera that will plug into your Chromebook or laptop. For portability and cost, I’m using the HUE HD Pro Document Camera.
If your lessons will include reading aloud or if you find your voice is strained from speaking louder than normal, consider using a personal voice amplification system:
- Dr. Chrissy O’Malley at Better Science Teaching made a very thorough video review of 3 different personal voice amplification systems that could work for teachers in an average-sized classroom.
- I’ll likely get this one, after watching Dr. O’Malley’s video and reading My Tech Classroom’s round-up of 11 Best Voice Amplifiers and Microphone Systems for Teachers. While it’s more expensive, I like that it has a bigger range, so if I decide to teach outdoors, I can crank up the volume.
- What about my beloved Juno FrontRow system? I still love it and prefer using it for the sound quality and suppressing feedback squeals…but it’s big, cumbersome, and needs to be plugged in. So that means it’s not portable enough to keep on a cart in my opinion.
If your lessons include playing audio from your device, consider adding a high-quality speaker to your cart. The speakers built into your laptop or desktop computer definitely won’t be loud enough to fill a socially-distanced classroom.
- If you decide to get a voice amplifier, check if it can connect to Bluetooth or with an audio cable to play sound from your teaching device. Alternatively, you could purchase a Bluetooth speaker and microphone separately. Just remember that everything wireless and/or Bluetooth will need to be charged, and students may try to connect THEIR devices to your Bluetooth speaker without your permission.
- Anker speakers like this one will produce great sound quality for the cost, but there are many others that will work for less money.
- Most “smart speakers” such as Alexa and Google Nest often project sound well throughout a room, but you should check with your school’s tech department about privacy concerns before using one.
Lastly, don’t forget backup power! Having a mini surge protector, or an extension cord, or a rechargeable power bank is always a good idea to keep your mobile lessons running smoothly.
Organize for Instruction
If your school does NOT have 1:1 devices, design your lessons in units with multiple weeks of lessons in 1 printable packet. This will decrease the amount of prep time you do, which you’ll likely be spending on managing book circulation instead.
Check out these printable read-aloud units that cover multiple weeks of library classes:
- Kindergarten Library Orientation Read-aloud Unit
- 1st Grade Library Orientation Read-aloud Unit
- 2nd Grade Library Orientation Read-aloud Unit
- Primary (K-2) Library Orientation Read-aloud Units BUNDLE
- Pets Theme Fiction & Nonfiction Read-aloud and Research Unit
- Primary Graphic Novels Read-aloud Unit
- Nonfiction Picture Books Read-aloud Unit
If your school has 1:1 devices that students use daily, design your lessons for “digital first.” Assume the lessons will be taught in person, but the activities can be done online.
- Pick a platform or format for your virtual lessons and stick to it for at least 1 quarter or semester. If at all possible, have your own Google Classroom, SeeSaw, or Class Dojo to connect directly with students and families, not through the classroom teacher’s platform.
- If you want student to respond individually to your lessons, use 1-2 tools consistently. There’s nothing wrong with experimenting (and we should), but this is also not the time to try every tool before picking something that works.
- My own recommendations: Google Slides for virtual lessons, Google Classroom for learning platform, FlipGrid or Padlet for student responses
Need ready-made lessons that are designed for on-the-go teaching? Check out these Read-aloud Activities for Google Slides:
- Primary Graphic Novels Digital Read-aloud BUNDLE
- 2nd Grade Library Orientation BUNDLE – Read-aloud Activities for Google Slides & Lesson Plans
- 1st Grade Library Orientation BUNDLE – Read-aloud Activities for Google Slides with Lesson Plans
- Kindergarten Library Orientation BUNDLE – Read-aloud Activities for Google Slides & Lesson Plans
Distributing Physical Books from a Cart
ALWAYS do everything you can to get students access to the physical library collection. It’s not only best practice, but also the most effective use of the school’s investment in the library collection. When teaching on a cart, however, it can be tricky to implement.
Consider teaching students in 2nd grade and above how to place a hold or reserve for a specific number of books.
- A library assistant or parent volunteer can pull the books on hold, and put them on a book cart for you to check out to students “live” in class.
- Color-coded Post-It®️ notes and rubber bands are your friend when labeling books to be distributed. Use a different color Post-It®️ for each grade level or class.
- When establishing a library class routine, think about when to distribute books:
- Right away to have students use them for your lesson, i.e. a picture walk?
- Or at the end to keep students focused on your lesson content?
If you are using Follett Destiny or another circulation system that allows students to create lists, teach students how to maintain a “want to check out” list so they have a place to store possible books to put on hold.
- Periodically take a library class to update “want to check out” lists with book talks, challenges, and writing/reading reviews from other students
For younger students in pre-kindergarten, kindergarten, or 1st grade, use a browsing book cart.
The one shown below has 3 shelves of books in 6 Gratnell plastic trays, a magnetic cup holder to hold a sanitizer bottle, and a magnetic card holder for library cards, Post-It®️ notes, or small paper slips for notes.
This set-up allowed our library assistant to provide a book exchange to students while I was teaching a library class to another grade level. It also made it easier and faster for young students to choose their books, even though the selection was limited.
I hope these ideas and tools can help you to begin planning for teaching “on a cart” in a productive way. Remember, it’s temporary, and you will get through it!
Thanks for the very thorough ideas! You definitely make teaching from a cart seem manageable!
Thank you Laura!
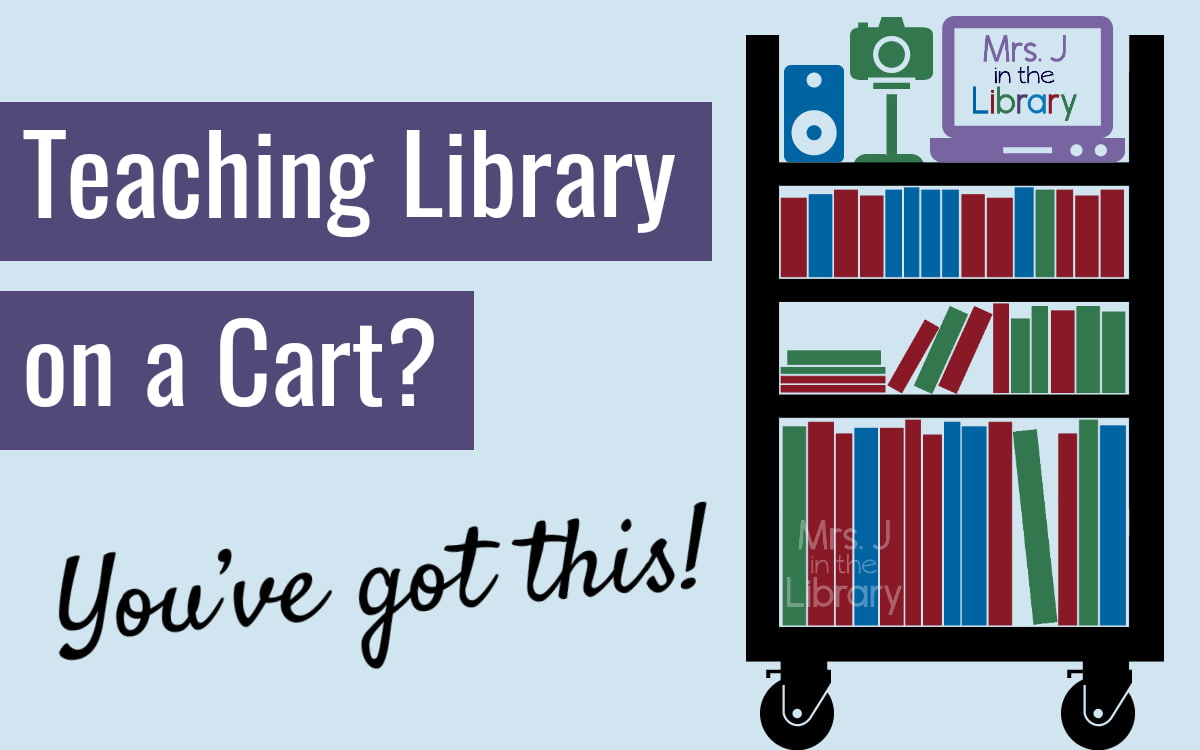
I love the library cart graphic. Where would I be able to get it? Thank you so much!
Hello Dianna!
I’m glad you like it. I actually modified and designed it myself based on this public domain image of a bookshelf: https://pixabay.com/vectors/library-book-shelf-read-knowledge-1963637/.
If you’d like to used it on your library website or for educational use, you can use the image as-is with my watermark and with a link to this blog post to give credit.
Thanks for reading, and take care!